A* Pathfinding and research
Custom engine -- C++
▚ Project summary:
In this research and prototype, I first researched and tried to understand the A* pathfinding algorithm and implemented fully working A* pathfinding inside a prototype project
This page is mainly here to share my research and conclusions.
Page contents:
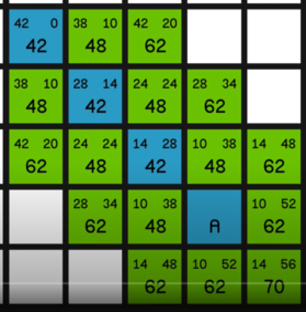
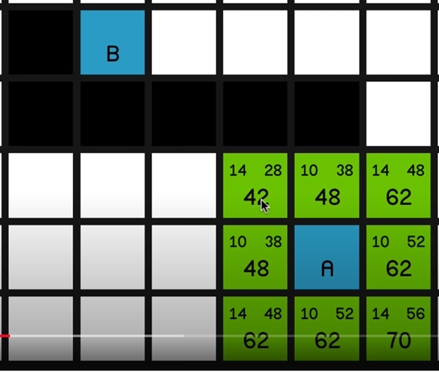
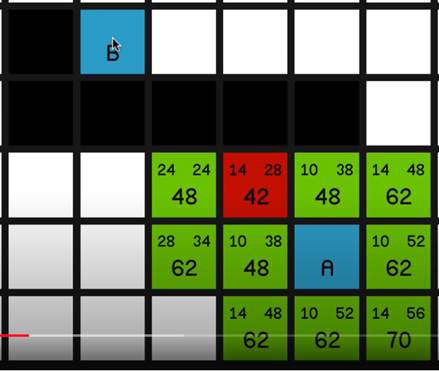
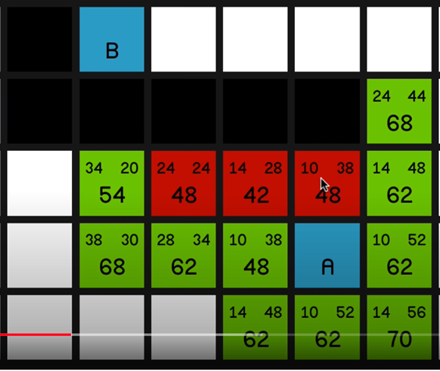
·Understanding the A* algorithm.
·Pseudocode
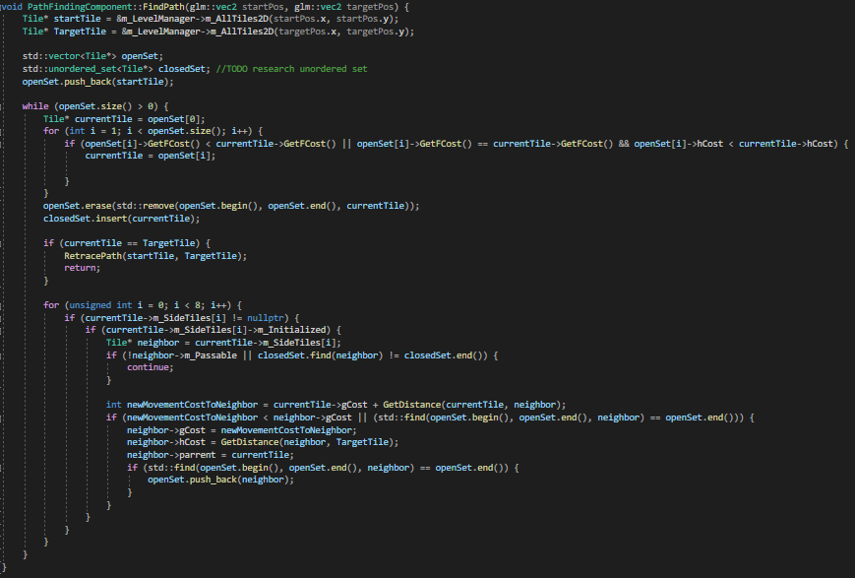
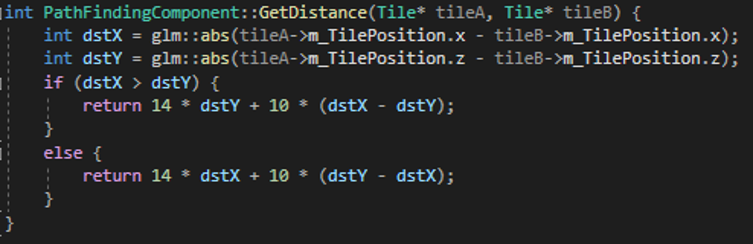
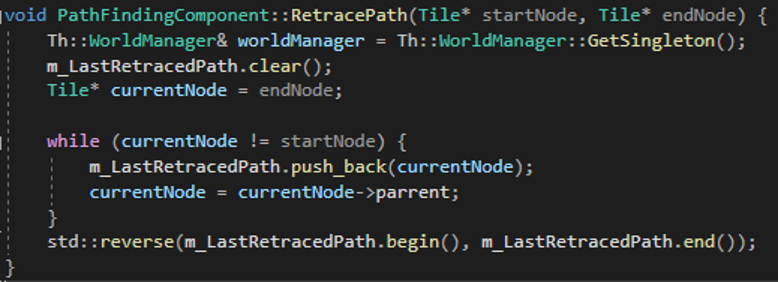
·C++ Implementation
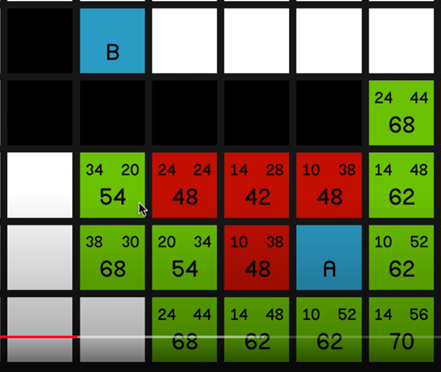
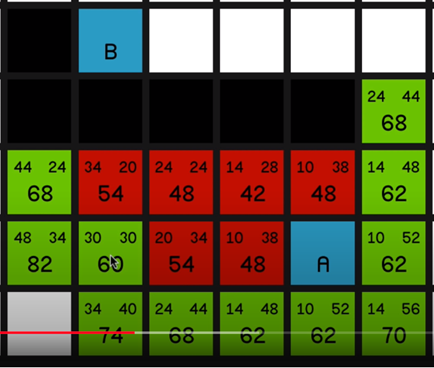
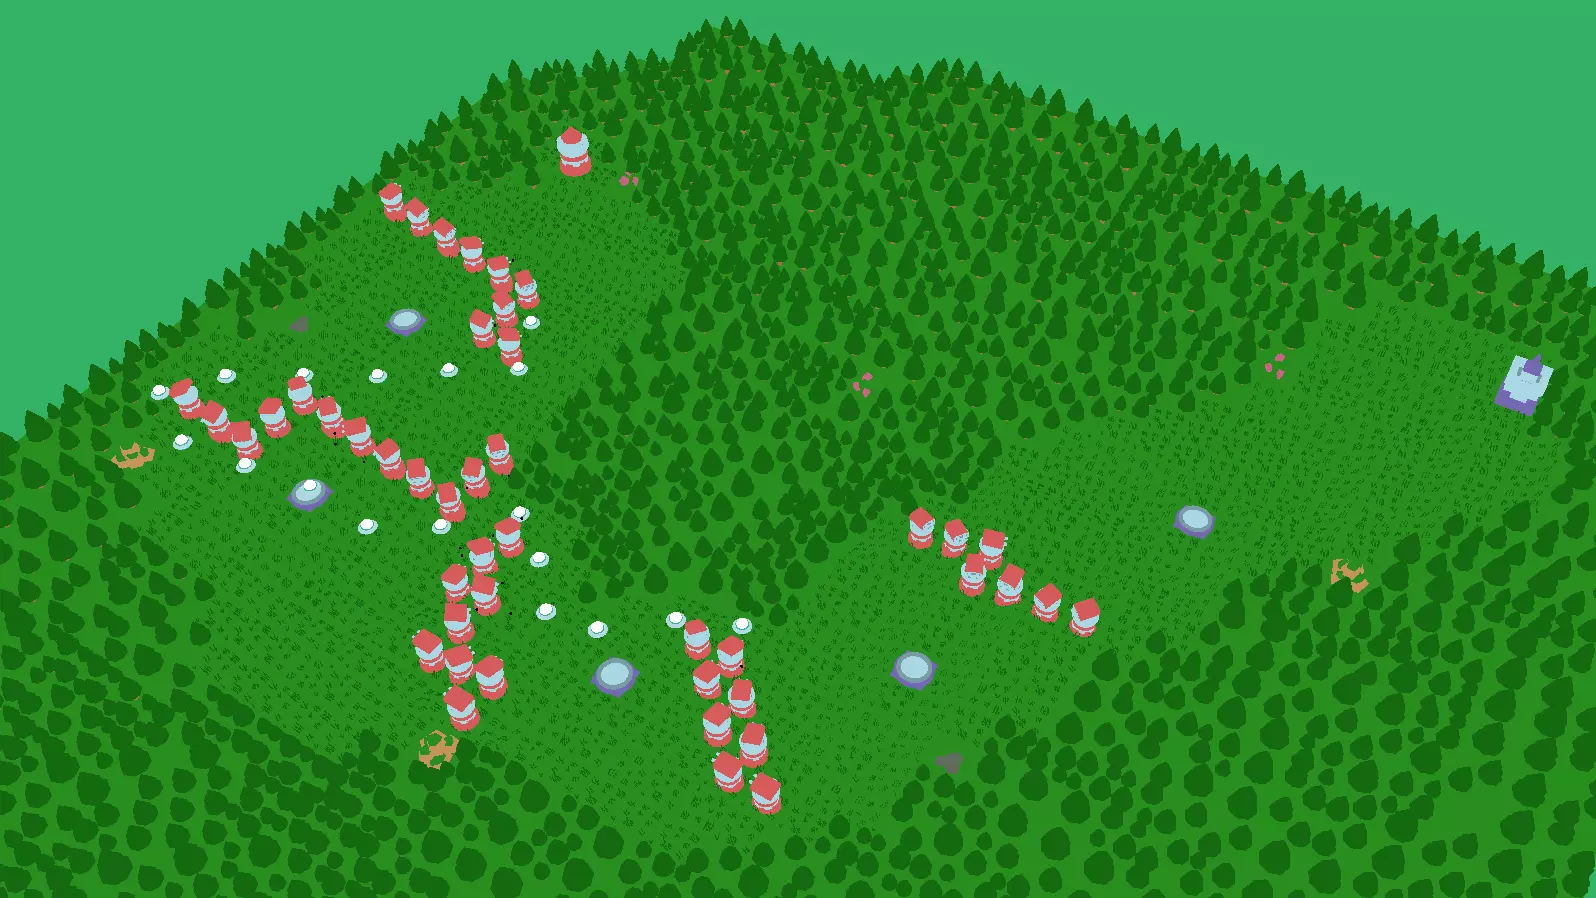
·In Project A* implementation
▌Specifications:
Project type: Buas school research project
Released: November 2020
Platform: PC, Windows
Time spent on project: 2 weeks of research and prototyping
Engine and Tools: Custom engine - C++
▌My contributions:
○ Fully documented research for understanding A*
○ Implemented core A* into our prototype project
▌Project goals:
○ Learn more about and understand the A* algorithm
○ Be able to use and explain the A* algorithm into our own prototype project
○ Document all my research